 |
|||||||||||||
|
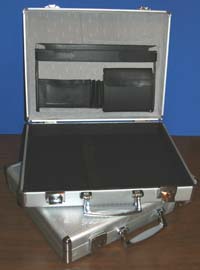
Briefcase For the Z scale Happy Birthday Layout I purchased another aluminum briefcase on eBay. This one cost only one-cent, with "shipping and handling" of $23.99. I cannot help but suspect that this is the seller's way to avoid paying eBay their percentage. The briefcase was essentially the same as the ones which I bought previously, except that the fabric in the cover extends all the way across the hinge and down the backside. (The before, after and lined pictures to the right are really from my first briefcase.)
I removed the black lining from the bottom of the briefcase and the pockets from the cover as before. This made room for a layout that could be as large as 16 1/2 x 12 3/4 inches. The "bottom" of the briefcase was 1 3/4 inches deep, with an additional inch in the top.
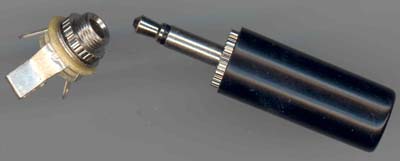
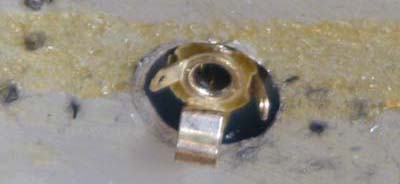
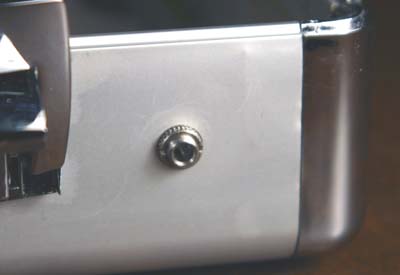
In order to get power from the power supply to the track without having loose wires come out and over the edge of the briefcase I installed a Radio Shack 1/8-inch phone jack. These are normally used to connect earphones or speakers to some electronic device. They work fine for just carrying power.
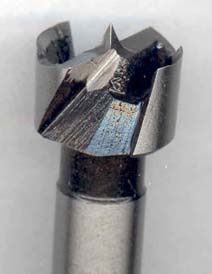
I drilled the holes for the Radio Shack 1/8-inch phone jack, starting with a 3/32-inch lead hole through the briefcase, then enlarged the hole with a 15/64-inch drill to allow the threaded part of the phone jack to come out through the outside of the briefcase shell. I then used a half-inch "Forstner Bit" (NOT "Forester Bit") to enlarge the hole on the inside of the case. The Forstner Bit is meant to drill flat-bottomed holes in wood, but - used carefully - it makes a neat hole without the bit hitting the outer wall (as with my first layout)so that the phone jack could be inserted from the inside and attached normally without the need for the extra washer.
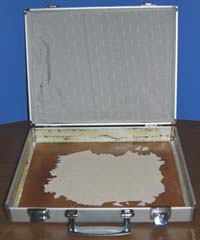
Because the fabric in the lower part was held in with something like contact cement - which was still sticky - I lined the bottom and sides with white contact paper to avoid sticking me or anything else to the insides while working on the layout - and to make sure that the layout itself could be removed after insertion if needed. I cut two pieces 1 5/8 x 12 3/4 inches for the sides and a single piece 15 3/4 x 16 7/16 inches for the front, bottom and back. Having done this twice now, I'm beginning to think that it would be easier to cut separate pieces for the front and back too, so that the bottom could be inserted without so much wrinkling (although you can't see the bottom with the layout in anyhow.)
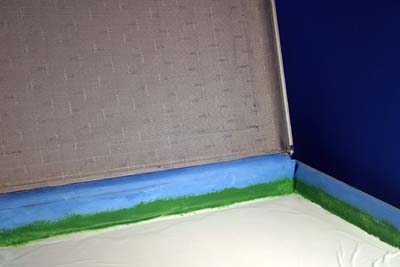
Although I waited until almost finished with my Circus Layout, I decided that it would be much easier to paint the "horizon" around the sides now. So I painted in a light blue "sky." Then, with a stiff brush, I "pounced" (as Donna Dewberry of the "One Stroke Painting" show on PBS would describe it) green paint below the sky to give a ragged green horizon. Next comes the cake. |
|||||||||||||
 |
|||||||||||||
 |
|||||||||||||
|
|
|||||||||||||
 |
|||||||||||||
 |
|||||||||||||
 |
|||||||||||||
 |
|||||||||||||